
Textures play a crucial role in bringing digital paintings to life, adding depth, and richness, that can transform an image into a captivating piece of art. Rebelle excels at simulating the intricate details of traditional media, making it an ideal tool for enhancing your digital paintings with texture. In this tutorial, we will explore various techniques to add and manipulate textures in Rebelle, helping you elevate your digital artwork.
What You’ll Need
- A Windows or macOS computer with Rebelle installed. If you do not have Rebelle yet, start a 30-day free trial today.
- A graphics tablet is recommended
- Basic understanding of Rebelle’s interface and tools. If you are not familiar with Rebelle yet, we recommend watching this Quick Start Guide first.
Choosing the Right Canvas
Open Rebelle and create a new project. Select a canvas size and resolution that suits your project. A larger canvas with a higher DPI (e.g., 4000 x 3000 pixels at 300 DPI) offers more detail. However, with the Pro edition, you have access to NanoPixel export. This way you can work on a smaller canvas (e.g., 2000 x 1500 pixels at 300 DPI) more comfortably and upscale and export it later without losing details.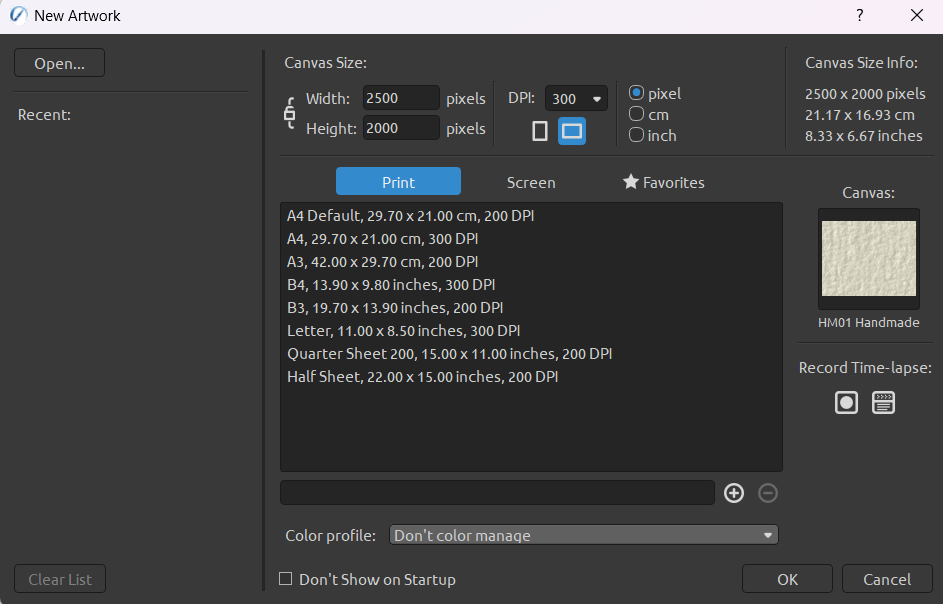 Choose a paper texture by opening the Canvas Library on the right side of the New Artwork window. The choice of paper texture is the foundation of your artwork and can influence the overall look and feel. There are seven default textures to choose from. Additionally, you can browse more than 140 papers, canvases, and other art surfaces on our website which are available for purchase. Every set offers three textures for unlimited reuse.
Additionally, you can import images through the Structures panel that will serve as structures and influence the behavior of the paint laid on top of them. This way, you can produce diverse textures within a few seconds.
Structures can be used greatly to practice the Frottage technique in Rebelle.
Block in a Painting
Select your preferred painting tool to lay down the initial colors and shapes of your painting. Express Oils are a fantastic tool for quick blocking in colors, as they work very fast even with larger brushes.
Choose your brush and start painting. Use large brush strokes to cover the canvas with the base colors. The maximum size of each brush can be adjusted to 700 px in the Brush Creator, if necessary.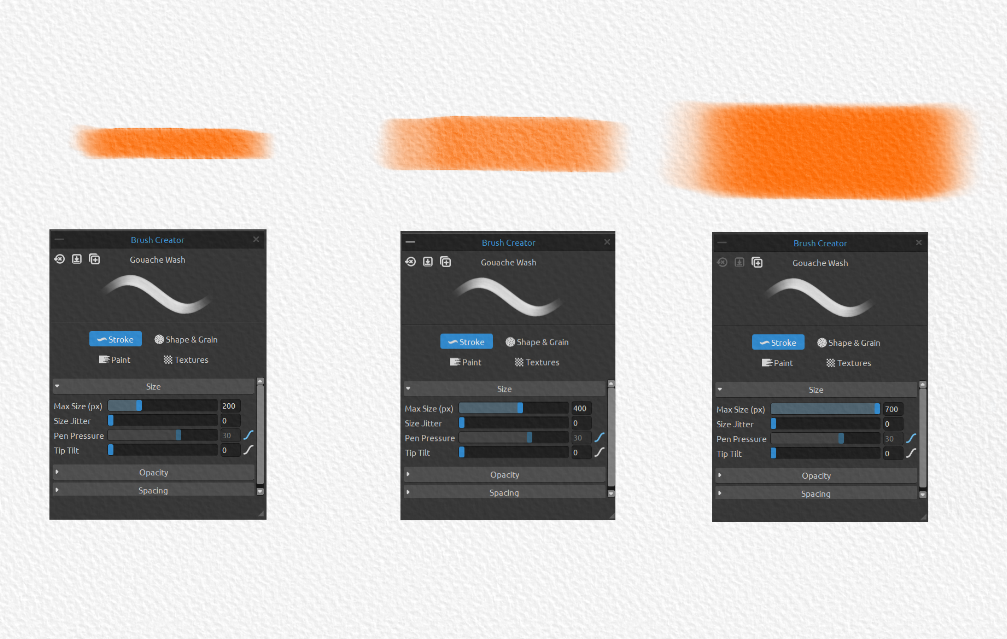 Comparison of the same brush stroke set to Size 40 (in the Properties panel) with various Max Size levels in the Brush Creator.
If using watercolors, utilize Tilt panel features to control the direction of the flow of the paint, creating natural textures and gradients. You can also control the watercolor simulation in the Visual Settings panel. Set absorbency, diffusion speed, or drip creation to the particular needs of your project.
Adding Textures with Watercolors
Experiment with different watercolor brushes to create a variety of textures. Pick a Bristle, Washi, or Fan brush, which are great for creating textures, such as water effects, or even grass and foliage.
Adjust the brush size and opacity in the Properties panel. You can use three Transparency modes to determine how the paint will cover the canvas.![]() Examples of Watercolor Transparency modes in the Properties panel.
Examples of Watercolor Transparency modes in the Properties panel.
Layer the watercolors and allow the colors to blend and create organic textures. If you come from a traditional background, use the Watercolor Pigments palette you are already familiar with and turn on Pigments (Pro edition) per layer to achieve true-to-life color mixing. Just a heads up, Pigments and transparency modes cannot be used simultaneously.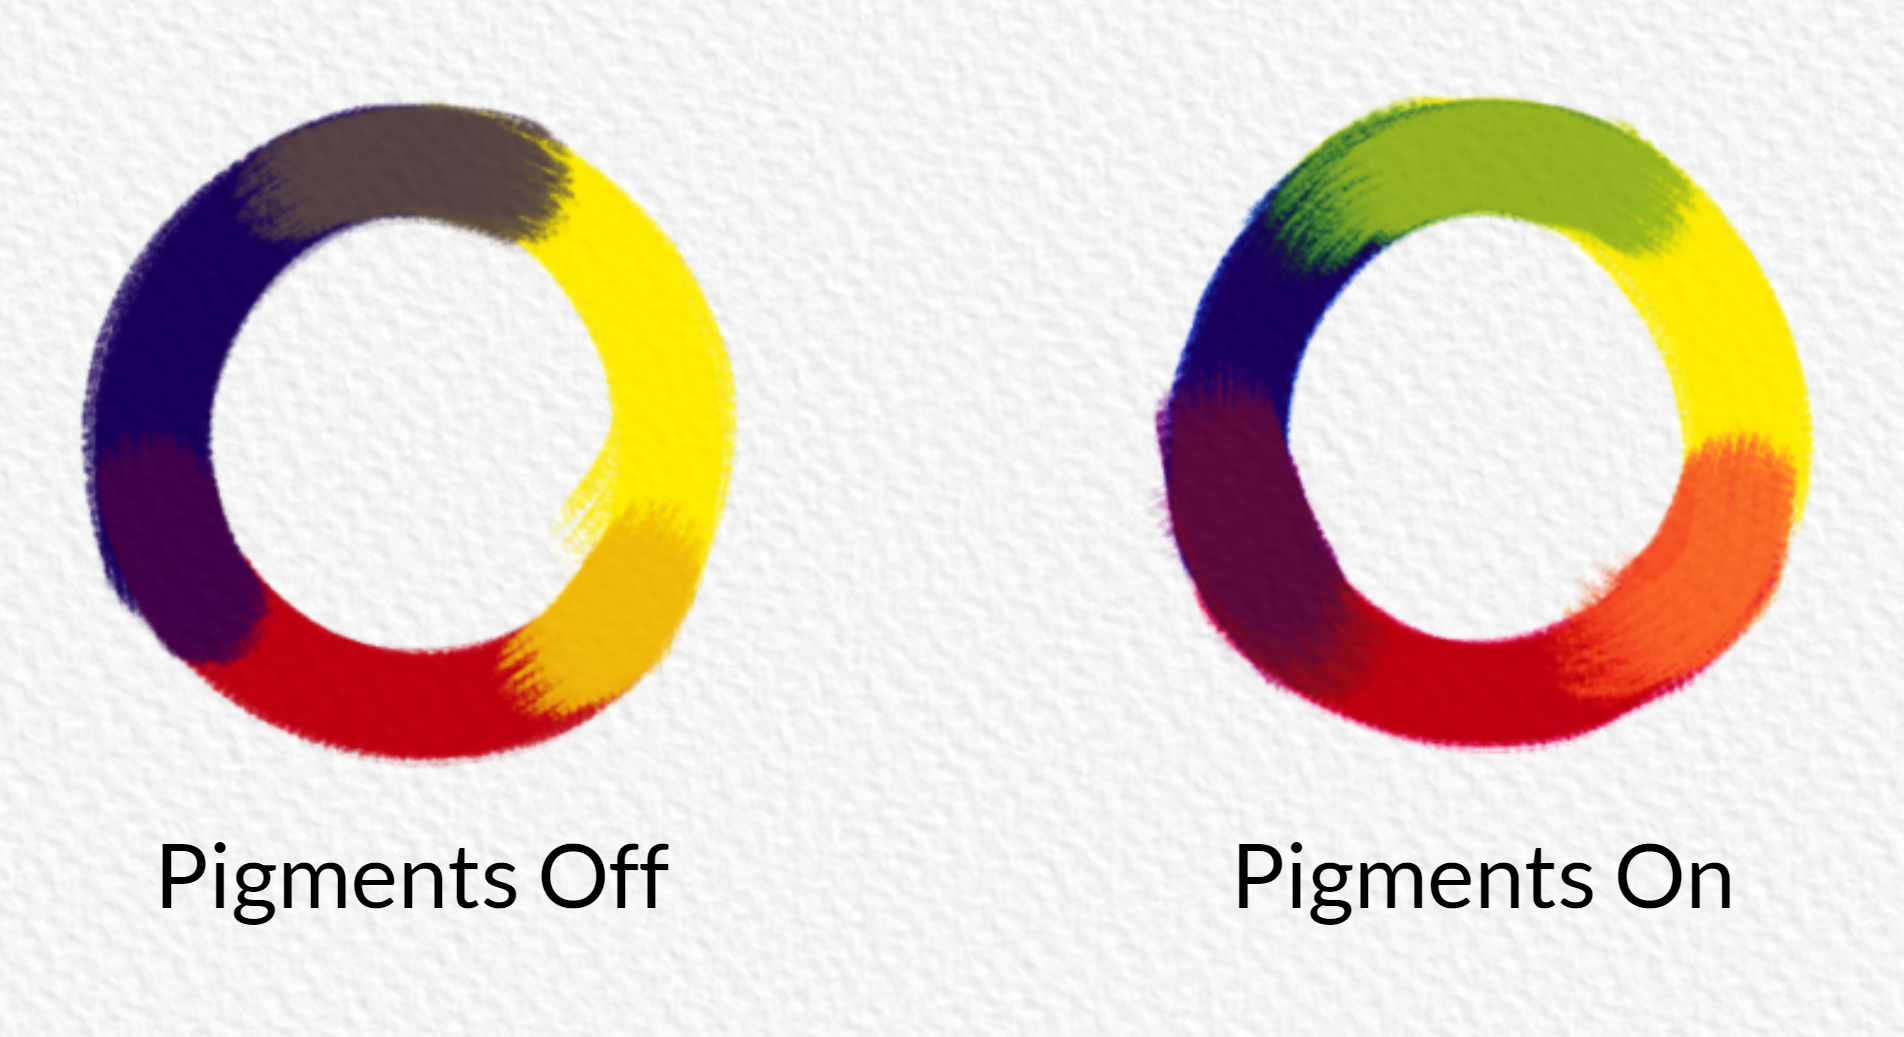 Difference in color mixing when using Pigments.
Use the Water tool to add water to your canvas using various brush textures. The Dry tool brushes can dry certain areas and for example, can be used in a similar way as textured tissue paper in traditional painting.
Incorporating Oils and Acrylics for Texture
Switch to the Oils & Acrylics tool to introduce bolder textures with a great variety of brushes. You can create great impasto effects with Dabber and Rake brushes or Palette knives.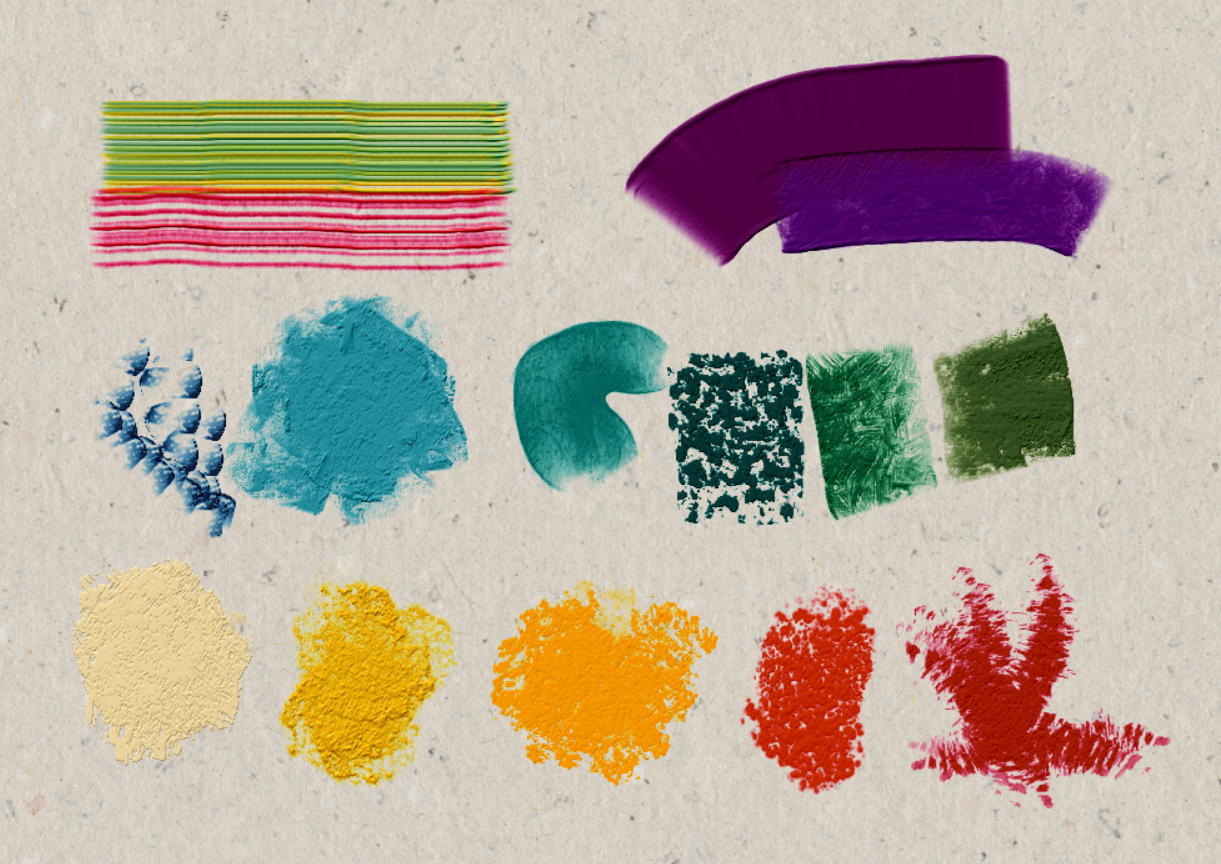 Examples of Rake and Dabber brushes and Palette knives on HM01 Handmade default paper.
Adjust the Loading slider in the Properties panel to determine how much paint you want on your brush. If you are looking for more pronounced Impasto effects, you can adjust the brush settings through Brush Creator > Paint > Oils & Acrylics Impasto.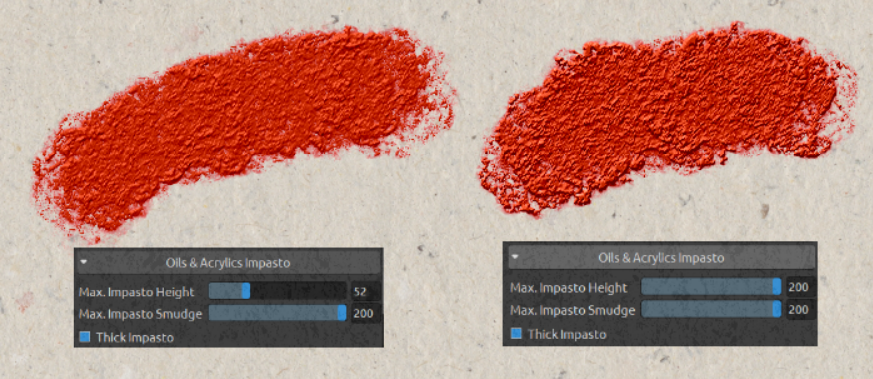 Different Max. Impasto Height for the same brush.
Apply the oil paint in areas where you want to add more texture. Experiment with different brush settings in the Properties panel to achieve the desired effect. We recommend utilizing the Oiliness slider, which is available for Oils & Acrylics and Express Oils. With lower oiliness, the brush scratches over paper more, creating great textures. Use keyboard shortcuts 1-5 to quickly switch between different paint and blend modes.
If you want to change Impasto depth or a Gloss on the whole canvas, you can do so in the Visual Settings panel.
We encourage you to experiment with mixed media to achieve texture. The hills and valleys of Impasto create beautiful paths or blocks for watercolor diffusion. Watch your canvas come to life and achieve exciting results.
Utilizing Pastels and Chalk for Additional Texture
Select Pastels to add softer, more granular textures. Rebelle offers a group of textured pastels that apply a soft dry layer of creamy pastels.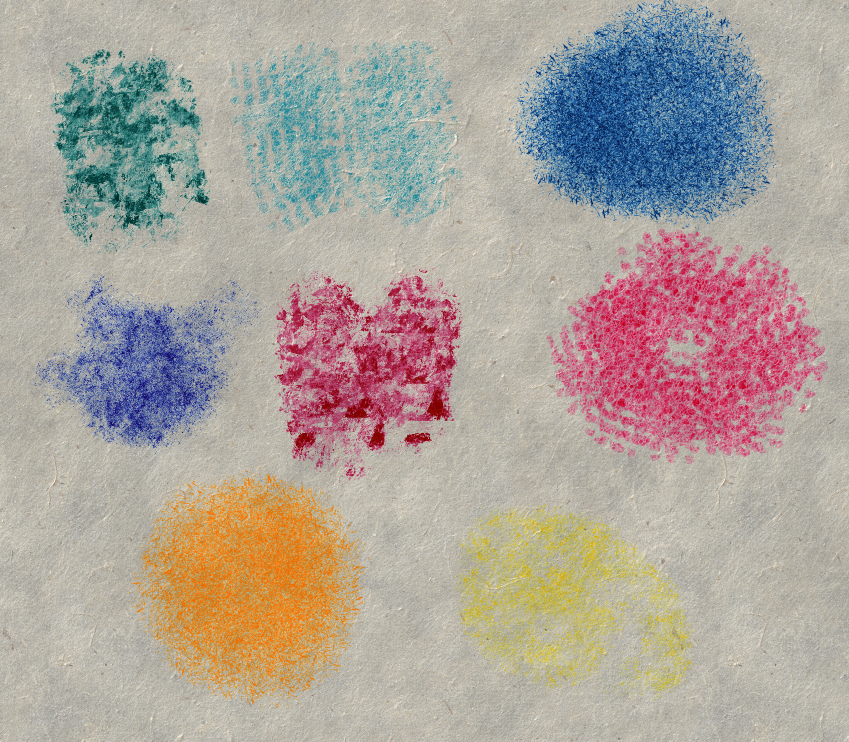 Examples of Textured Pastels on EX28 Banana Rough paper
Choose colors that complement your painting and start applying them with gentle strokes. Use the Blend tool to blend the pastels and chalk, creating smooth transitions and gradients, and the Smudge or Liquify tool to push the paint around the canvas.
Enhancing Texture with Charcoals and Pencils
Let’s not forget charcoals and pencils, which are great not only for initial sketching but also very popular for fine details and intricate textures. Examples of new types of pencils and charcoals introduced in Rebelle 7.
Use these brushes to create hatching, cross-hatching, or stippling effects, adding complexity and depth. Combine different types of lines and marks. Softer pencils (e.g., 2B, 4B) scratch the surface more, which results in a diverse textured surface.
Fill Areas with Various Patterns
Open the Fill tool and choose one of the default patterns or import your own 256x256 px PNG image that will serve as a pattern. You can fill certain areas or whole canvas with such patterns and create desired textures.
Saving and Exporting Your Textured Artwork
Once satisfied with your textured painting, save your project as a .reb file to retain all layers and settings.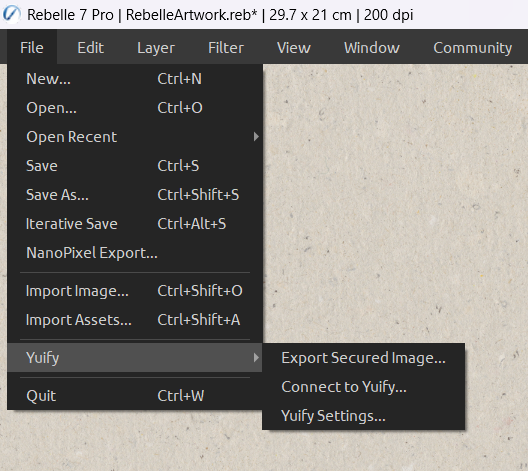
Now, you have quite a few options to export your artwork. You can choose between lossy (e.g. JPEG) or lossless export (e.g., PNG, TIFF, BMP, PDF) for printing. Or you can upscale your artwork to a higher resolution with NanoPixel export. The latest addition is to export with Yuify, which will embed a unique invisible digital ID to claim your authorship.
Conclusion
Enhancing your digital paintings with texture in Rebelle can significantly elevate your artwork, making it more dynamic and engaging. By experimenting with different tools and techniques, you can create rich, tactile surfaces that draw viewers into your work. Remember, the key to mastering texture is practice and exploration. Don’t be afraid to try new approaches and push the boundaries of your creativity. There are more than 250 brushes and endless possibilities for their customization waiting for you in Rebelle.
Happy painting!
Escape Motions Team
----
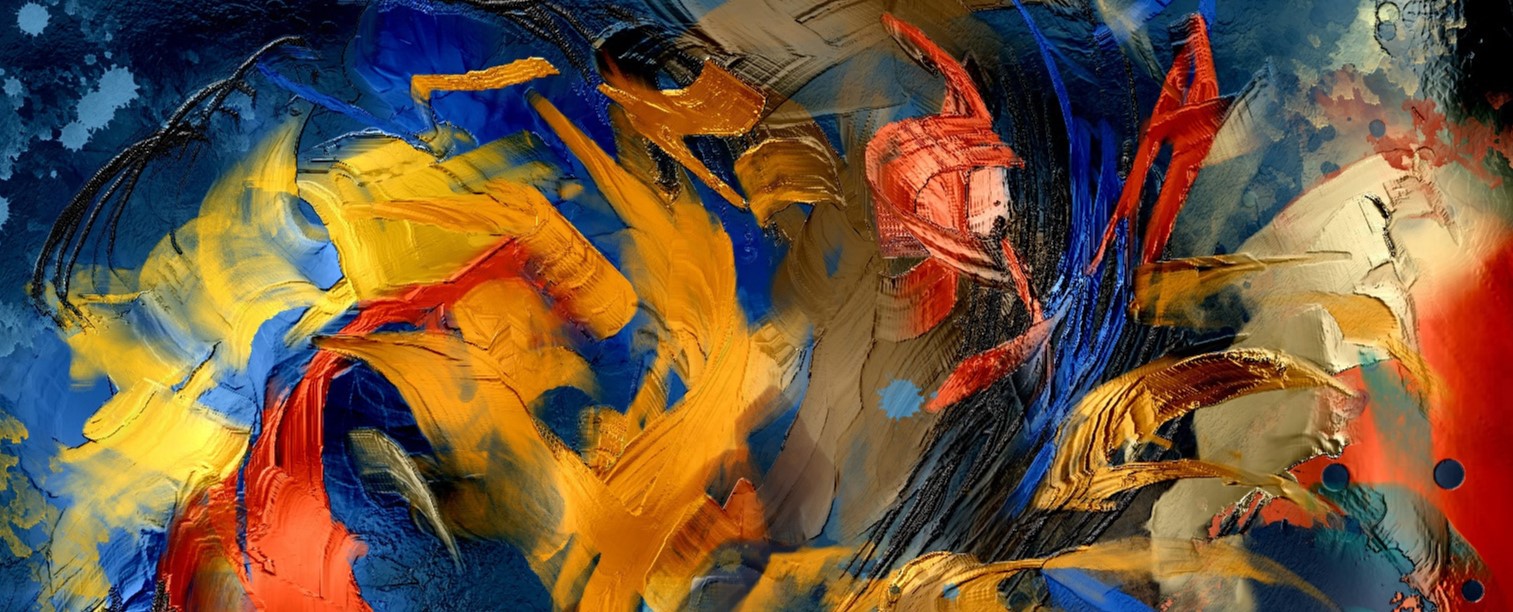
Title image credits: Carles Carbonell Bernado
What do you think?
0 Responses
0
Upvote
0
Funny
0
Love
0
Surprised
0
Angry
0
Sad
Sign in to comment!
Be the first to comment.