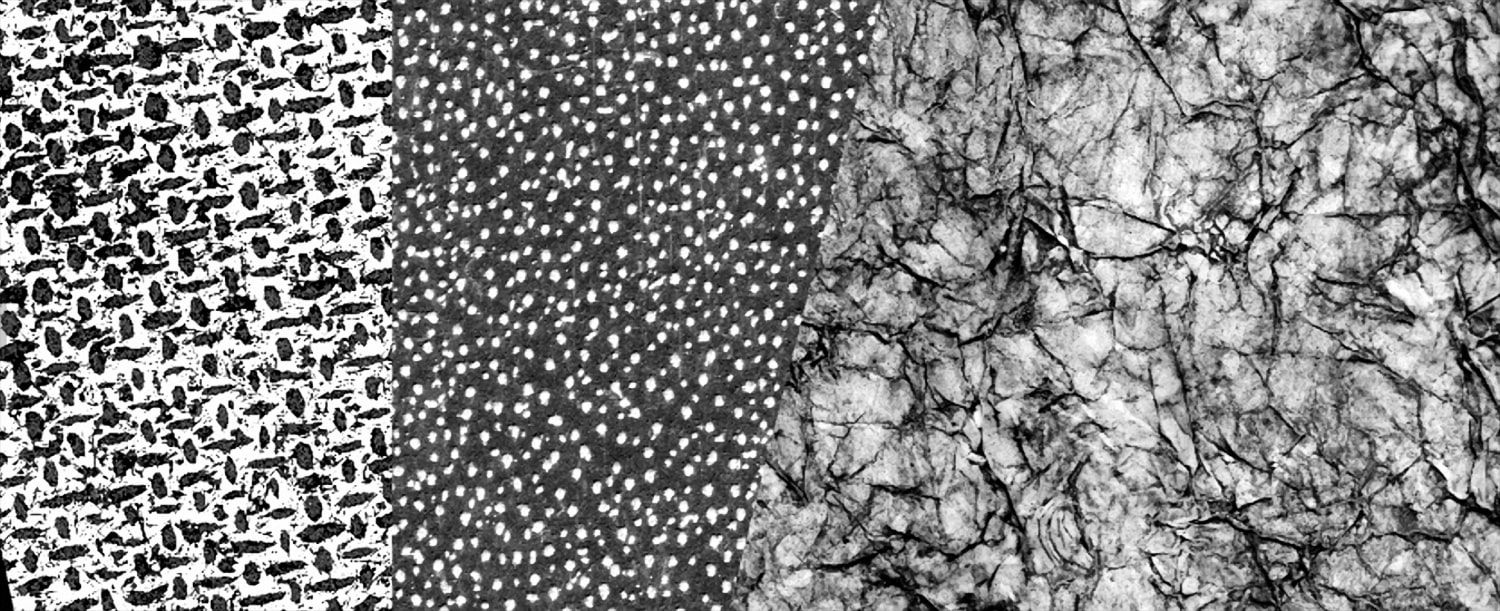
Discover how watercolorist Craig Werkheiser, a Rebelle Featured Artist, uses structures to create depth and background patterns in his stunning digital artworks. Learn how to create your own structures and implement them into Rebelle paintings in this step-by-step guide.
In the vibrant world of digital art, few tools capture the essence of traditional mediums like Rebelle. For watercolor enthusiasts, this award-winning software offers unmatched realism and creativity. Among its users is Craig Werkheiser, a watercolorist whose artistry pushes the boundaries of digital expression.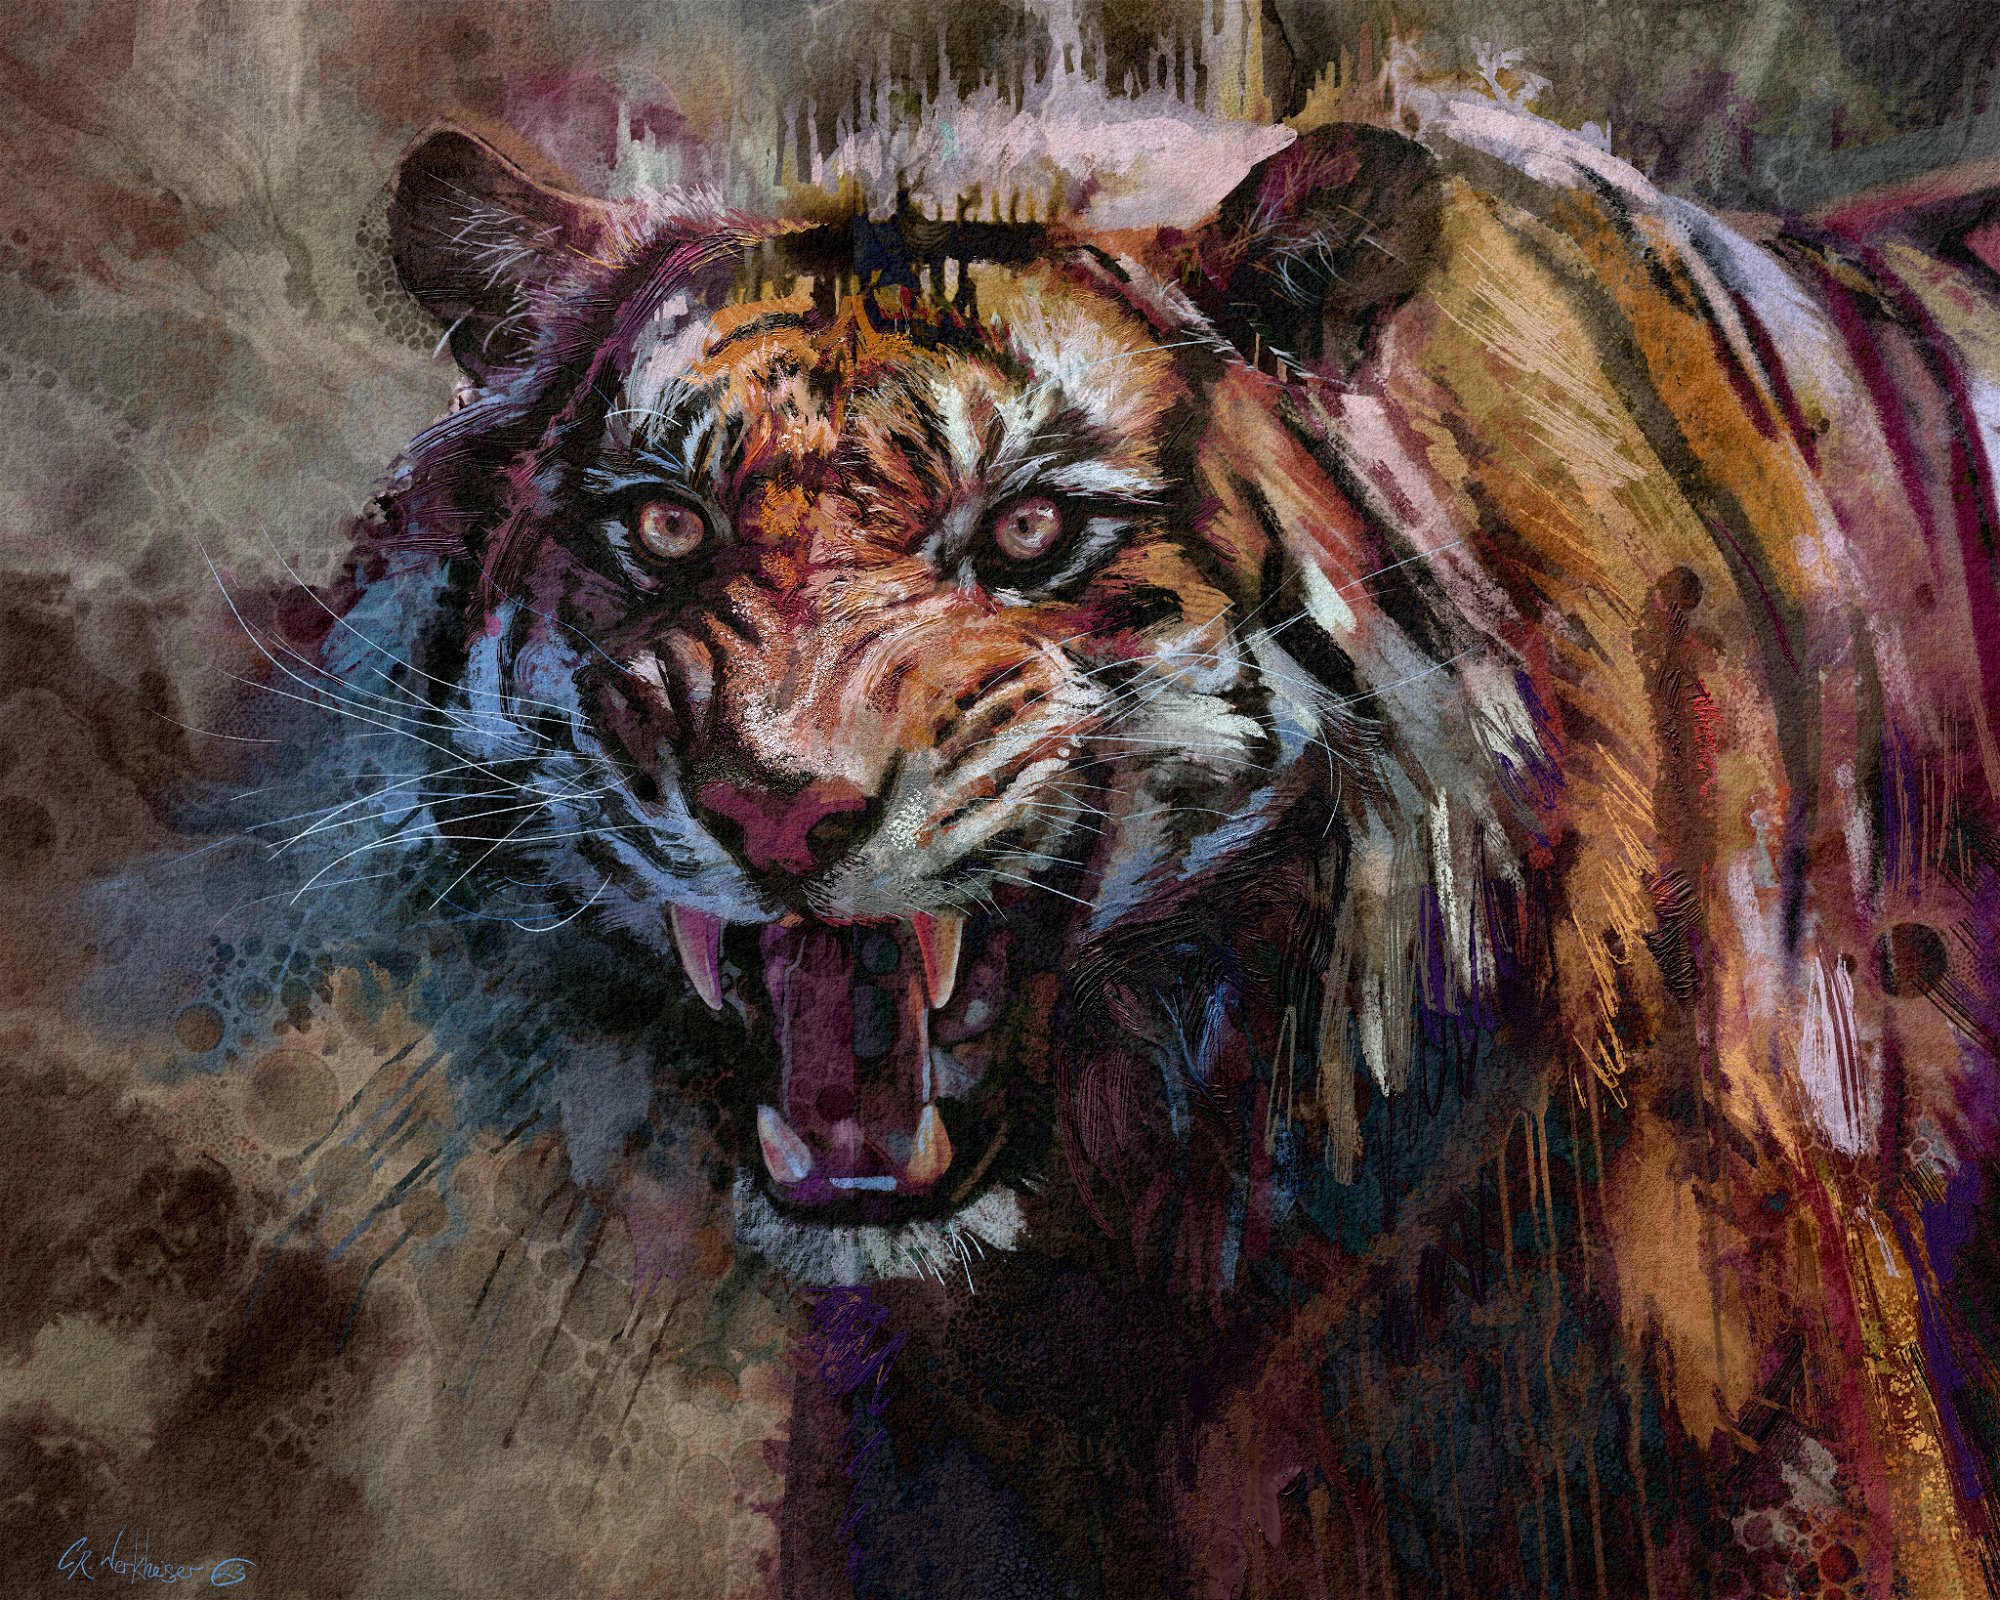 Craig's unique approach involves skillfully integrating various structures to enhance background texture and bring his compositions to life. In this blog, Craig will provide a step-by-step guide on how to create a structure, implement it in Rebelle, and use it to complete a wedding portrait, he specializes in. Let´s continue with the explanation from Craig.
Create a Structure
Rebelle 7 introduced Structures, a powerful feature that allows artists to incorporate intricate patterns into their digital paintings. If you are not using this powerful feature yet, it is about time you start. While the software includes a selection of built-in structures, its real potential lies in the ability to import custom designs tailored to your unique creative needs. You can find an array of abstract backgrounds online—some free, others for a modest fee—that work beautifully as structures. However, nothing beats the satisfaction of creating your own.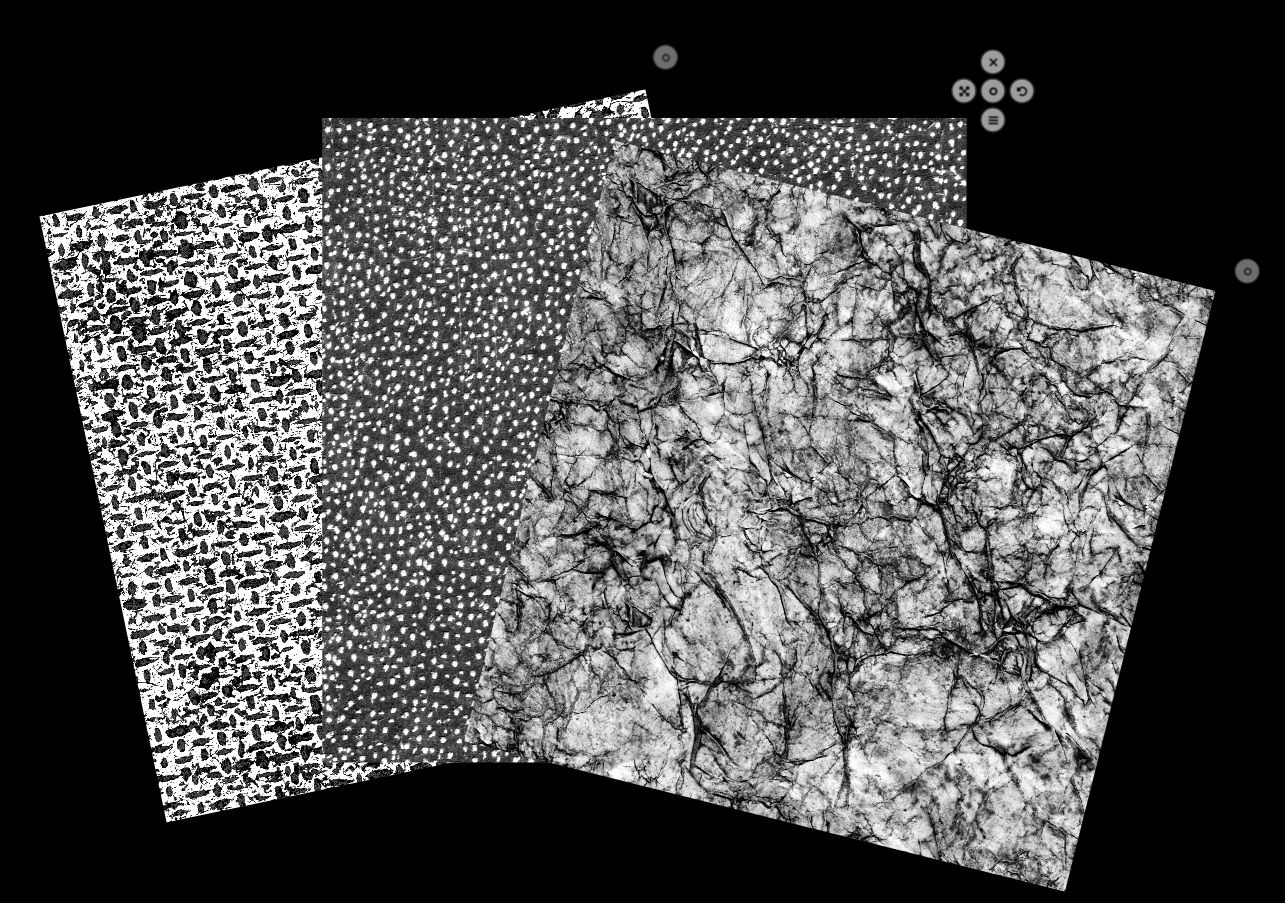
Default structures available in Rebelle 7.
I enjoy crafting my custom structures by blending abstract watercolors with a touch of pastel art. Here’s how I do it: I begin traditionally, by painting vibrant abstract watercolors on pastel mat paper. To enhance the texture, I sprinkle salt on the wet paint. As it dries, the salt reacts with the watercolor, forming mesmerizing organic patterns. Once the paint has dried completely, I layer the piece with soft pastels to add depth and contrast. The finished artwork is then scanned into my computer for further refinement.
Although Rebelle itself offers tools to prepare your custom structures, I prefer using a separate photo editing software where I feel most comfortable. Here’s my process: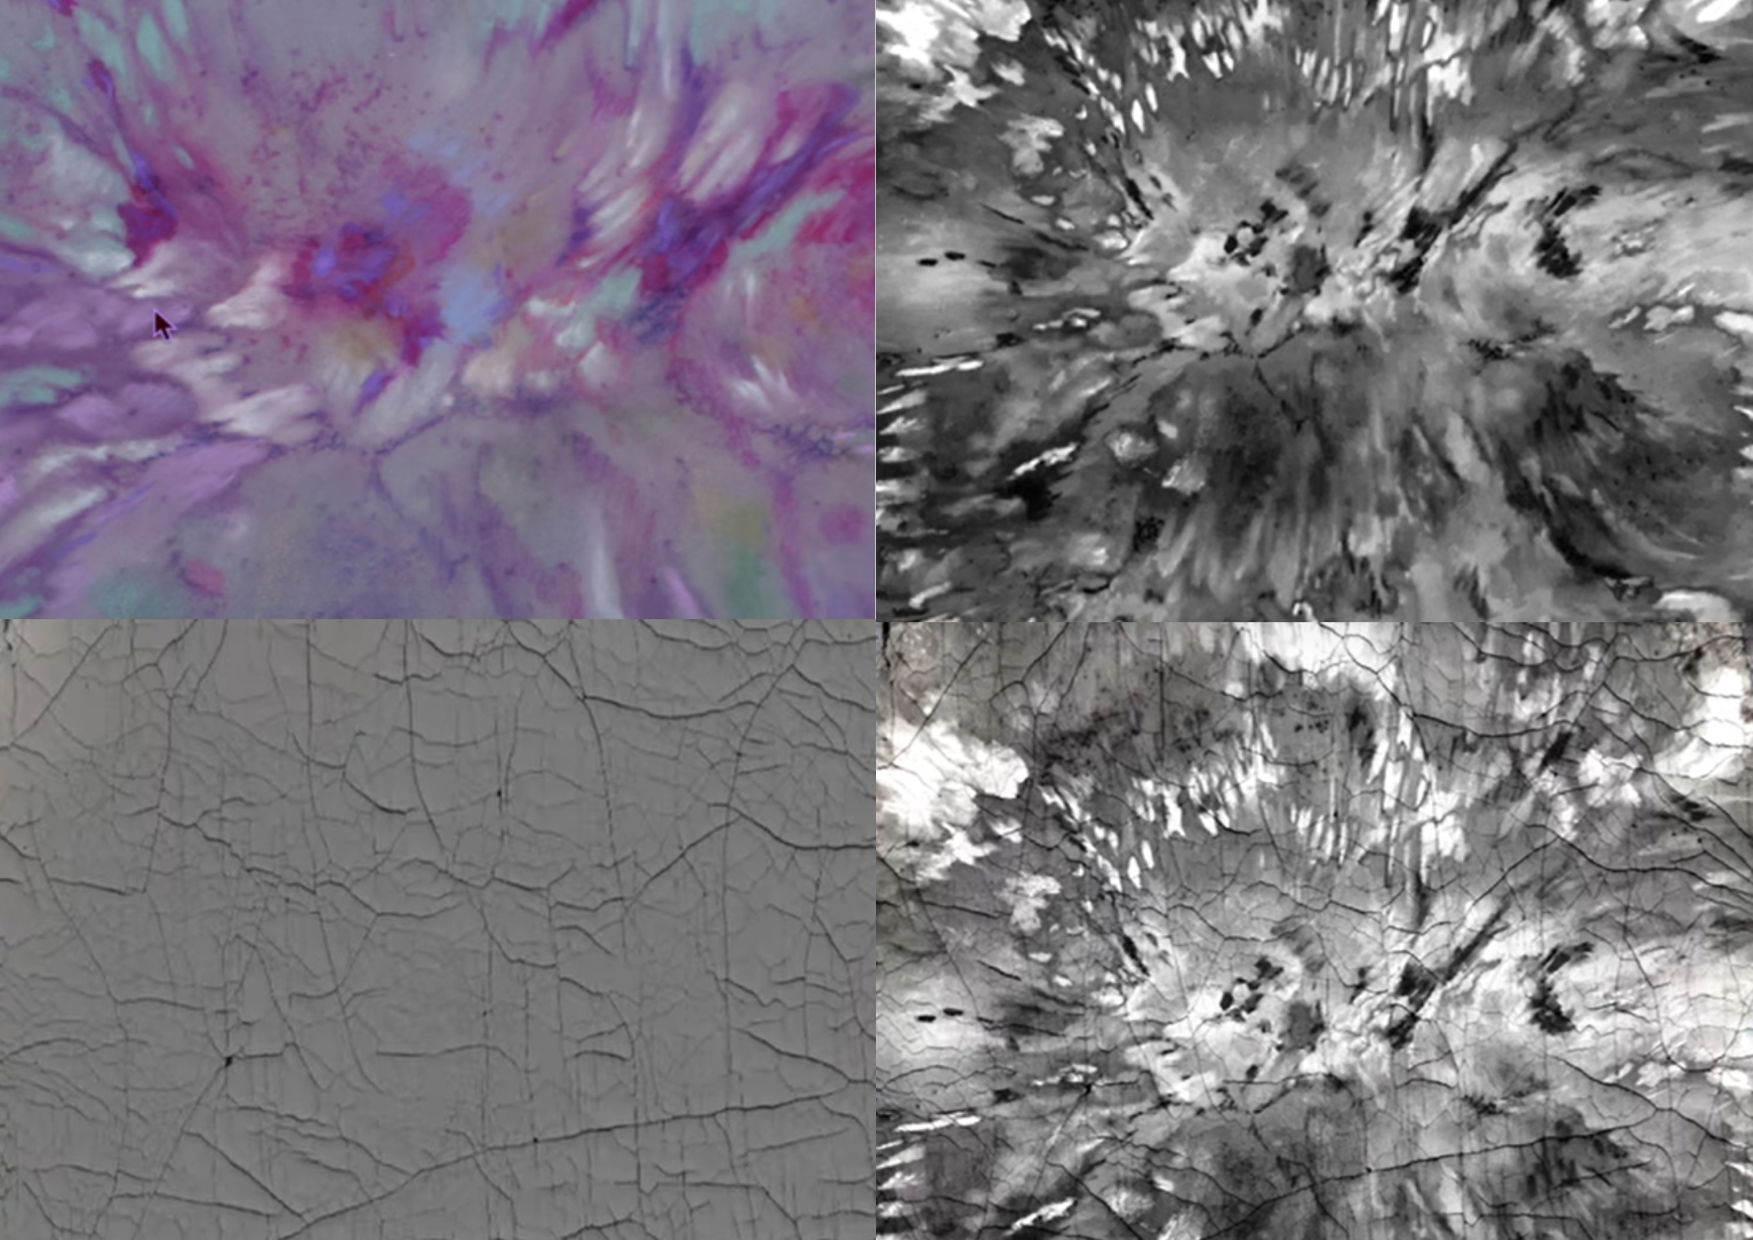
Steps described below, starting from the top left - scanned abstract watercolor art.
Create a New File
Start by opening your scanned abstract artwork in your preferred editing software. Set the canvas size to 2000px x 2500px at 300 DPI for optimal quality.
Convert to Black and White
Transform the image into grayscale to emphasize texture. Adjust brightness and contrast to achieve a pleasing balance between light and dark areas. Aim for crisp highlights and deep, rich shadows.
Add Texture
Enhance your image by incorporating additional textures, such as dried cracked paint patterns, which you can source online. Experiment with blending the textures into your base image. I find the Linear Light blending mode at 60% opacity works beautifully, but don’t hesitate to try the blending modes available in Rebelle to suit your style.
Export
Once satisfied with the result, export the image as a JPEG or PNG. Congratulations—you’ve just created a custom structure ready to import into Rebelle!
This method enables you to produce a wide variety of structure images, using everything from bubbles and spirals to lines and bumps. With just a bit of experimentation, you’ll quickly build a library of textures that reflect your aesthetic. Imagine how these unique structures can breathe life into your final artwork, adding richness and complexity.
Import Custom Structures to Rebelle
Open Window > Structures in Rebelle 7 and then Structure Library. Here you will find default structures that come with Rebelle. Hit the Import Structures button on the bottom and add the structures you have just created.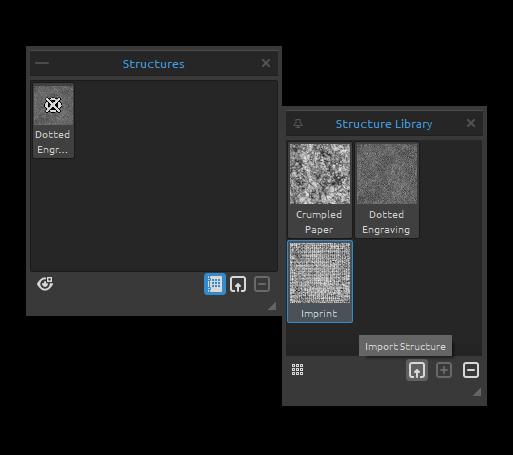
In the Structure Library, right-click the structure and choose to rename or remove it. You can re-arrange the list by dragging a selected structure to the desired position.
Right-click in the Structure Library panel to add a new group or delete the selected group of structures. Rename the group by double-clicking its name, enter the new name of the group, and hit Enter. Hide the group using one left mouse button click.
To add a structure to the canvas, select it from the Structure Library or Structures panel by clicking on it.
Create Artwork Background Using Structures
When transitioning from traditional painting to digital art, one quickly realizes how vital the art surface is in creating the right mood and texture. Rebelle offers an incredible selection—seven default art surfaces and over 160 additional papers and art surfaces available for a small fee. These can be endlessly customized by adjusting their color and texture scale, offering thousands of unique combinations at a fraction of the cost of physical materials.
For this wedding portrait, I selected the HP10 Color Dust paper from the Hot Pressed Dust set (also included in the Full-Color Bundle). I customized it with a deep red canvas color and scaled the texture to 175%. After setting up the surface, I added a pre-designed structure to the canvas. In the Visual Settings panel, I adjusted Edge Darkening and Paper Texture to 10 each, ensuring the surface would enhance the overall composition. With these foundations in place, I chose the perfect brush, set the Water parameter to 100, and began work on the background.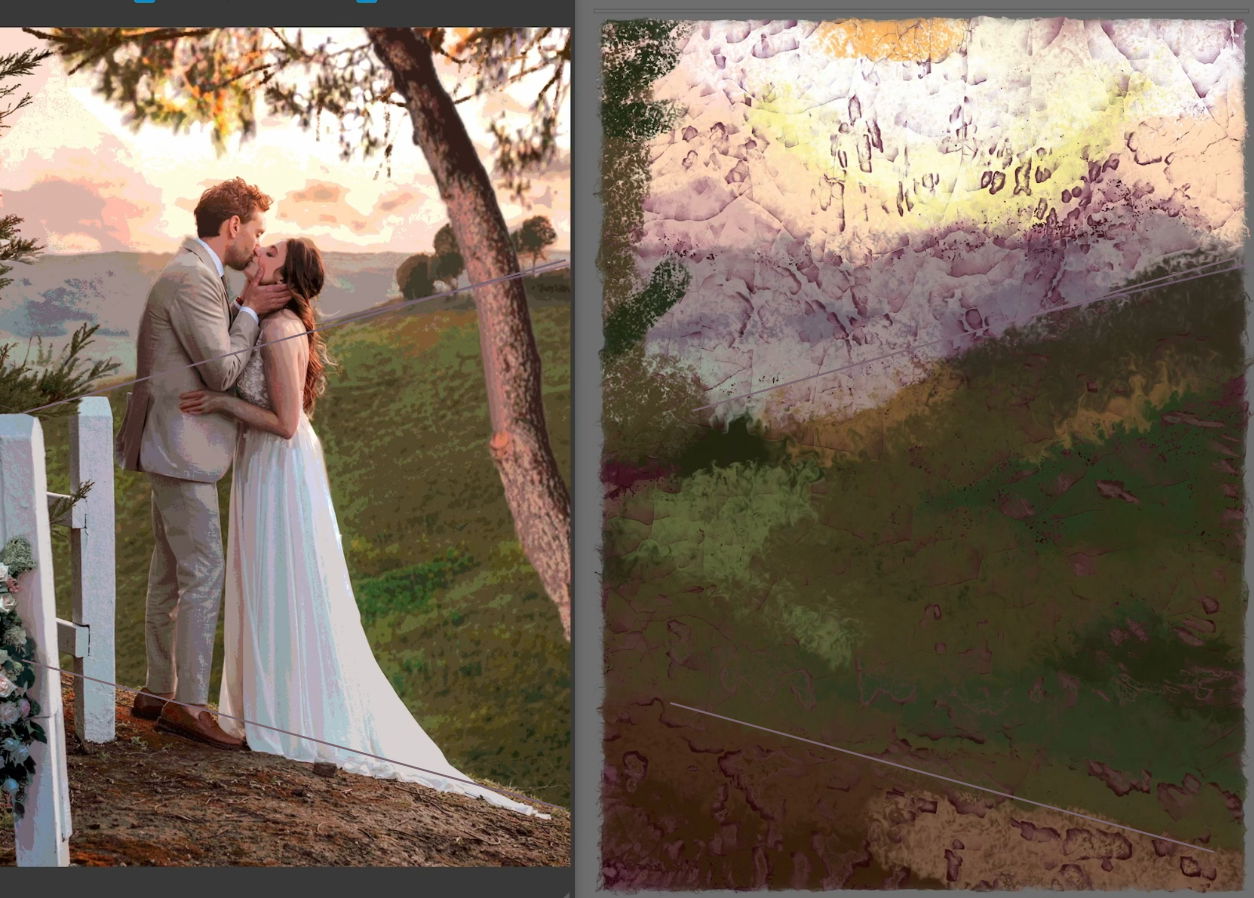
The background consists of two layered textures. The first layer focuses on building depth and dimension within the structures. On the second layer, I added more texture and set the blend mode of the underlying layer to ‘Linear Light.’ This technique created a luminous glow reminiscent of sunlight filtering through.
To maintain accurate proportions for the subject, I used the Reference Image Guides tool to map out the key features. As I progressed, I enriched the composition by adding more structures and introducing subtle variations in texture. I find immense joy in tweaking the canvas as I work—it allows organic, spontaneous patterns to emerge, giving the piece a unique character.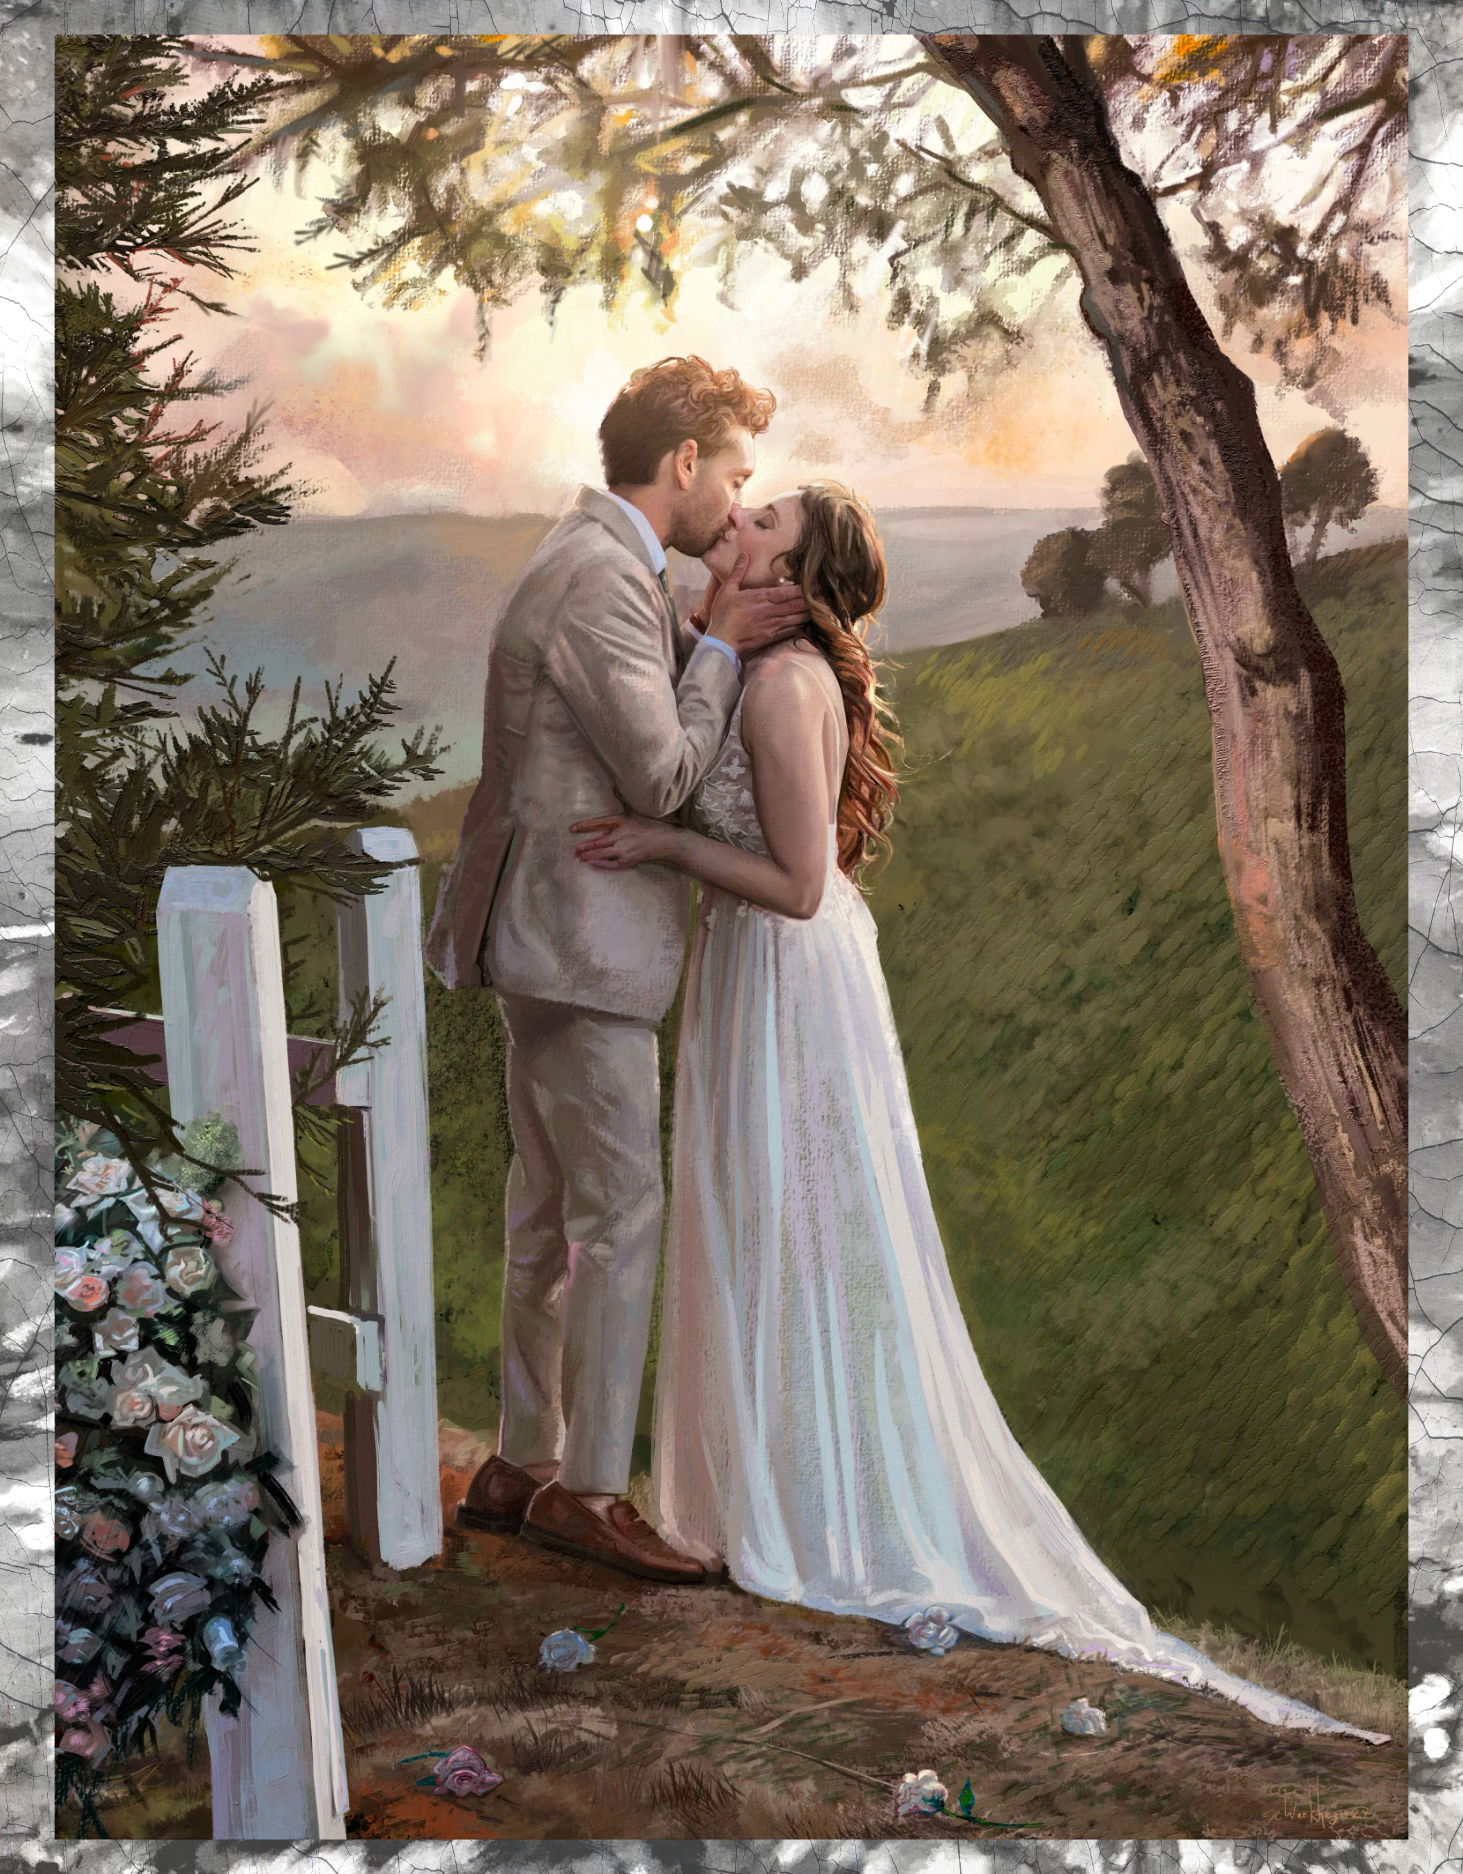 For the initial block-in of the subject, I turned to Aaron Rutten’s Fractal Splat and Fractal Wet brushes. Once the basic form was established, I used the selection tool to isolate the figures, moving them onto their own layer. This separation allowed me to focus on the intricate details of the subjects, layering pastel and oil mediums to bring them to life.
If you’re curious to see the entire process, including these techniques in action, watch the video below or visit my YouTube channel.
Watch on YouTube: youtu.be/oBJnMyY0Ti0
Thank you, Craig, for this guide and your insights on how to use Structures in Rebelle. We look forward to seeing more of your watercolor magic.
If you found this tutorial helpful, let Craig know. Comment below this blog post or the video on his YouTube channel, subscribe or share his content to show your appreciation.
Happy Painting,
Escape Motions Team
-----
Learn more about Craig Werkheiser: escapemotions.com/featured-artists/craig-werkheiser

